Have A Look!
My images are available for reflective browsing, as ready-to hang artwork, prints for your own decorative treatment, or for licencing for your media project.
I share tips, ideas, and inspiration in Shared Thoughts – a blog.
Gallery: Inspiring Images
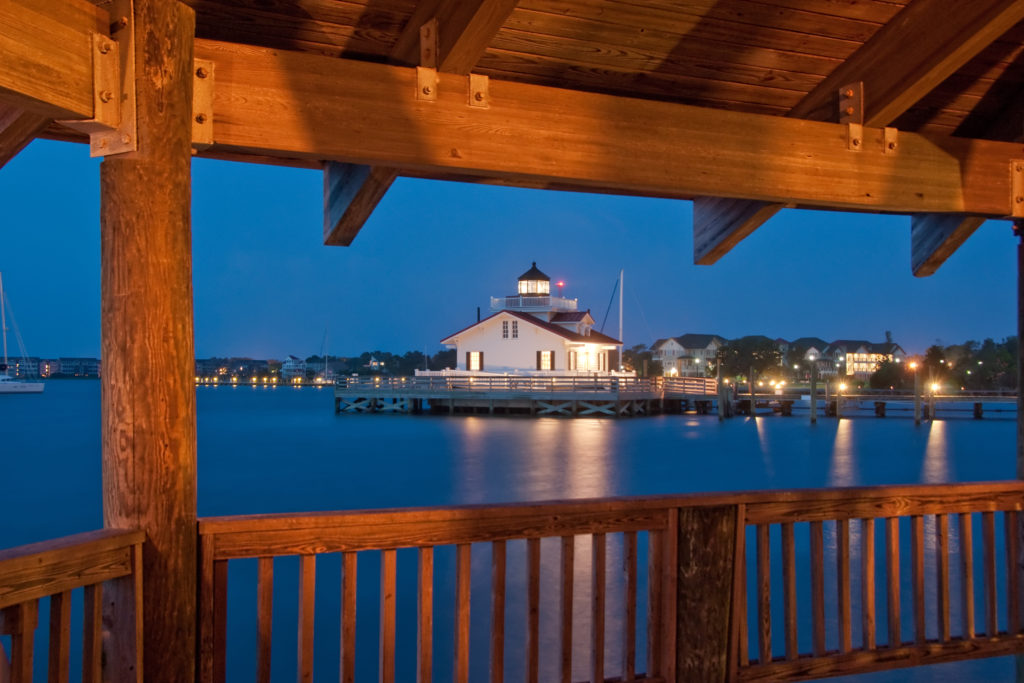
Beaches and the wildlife of the Outer Banks, riots of color of New England autumn, excitement of an Oshkosh airshow, or thoughtful exploration of color and form, you’ll find it in my gallery. Original artwork for your home or office. Images may be licensed for your creative projects.

Why Dan Beauvais – photography?
Since 1980, I have been on a quest to show the little details, the happenings when we are otherwise busy, the awe we only notice when paying careful attention.
In my photographic artwork, I not only capture the way things look, but how they stimulate all my senses. Smooth or rough? Crisp or muggy? Sweet or pungent? Quiet or cacophonous? Towering or diminutive? Explosive or contemplative? Spontaneous or studied? Melodious or dissonant? Order or chaos, or that one little thing that breaks the pattern to grab our attention?
My artwork is available richly framed and ready to hang as a focal point in your home. Or as prints for your own creative presentation. The works can be licensed for your media project.
All images are copyrighted by Daniel J Beauvais. All rights reserved. No usage authorized without prior written permission.